When making pizza at home, many people opt for a ready-made pizza shell or par-baked crust. While sufficient, ready-made pizza crust might not be as tasty as homemade pizza dough. In this article, we will explain proper dough stretching techniques and provide useful tips for making great homemade pizza crust. With proper handling, an uninspired ball of dough can become a glorious Italian masterpiece.
Stretching Pizza Dough
There are several methods for stretching pizza dough, but they all require the same preparation. Before starting, make a batch of your favorite pizza dough. When complete, your dough should feel springy but not sticky. Follow all rise times to ensure a soft, pliable dough. Most grocery stores carry pre-made pizza dough balls in the produce section. You may also buy balls of dough from your local pizzeria.
Warm dough is much easier to work with, so be sure to allow your pizza dough to warm up to at least room temperature before stretching it. Prepare your work surface with a sprinkling of flour to keep the dough from sticking. Place your dough ball on your workspace and gently press down to flatten it into a small disk. Now you are ready to stretch! Here are our four favorite methods you can use to stretch pizza dough. You can use one or a combination of these methods to create the ideal pizza crust.
1. Fingertip Stretch
With the “fingertip method,” push your fingers into your flattened disk, and gently push them outward to stretch the dough. Begin with your fingers at the center of the dough and work your way to the outer edge of the crust, being careful not to push through the dough or stretch it too thinly. Try to work your dough into a circular shape, leaving a half-inch of dough untouched around the edge.
2. The Record Player Stretch
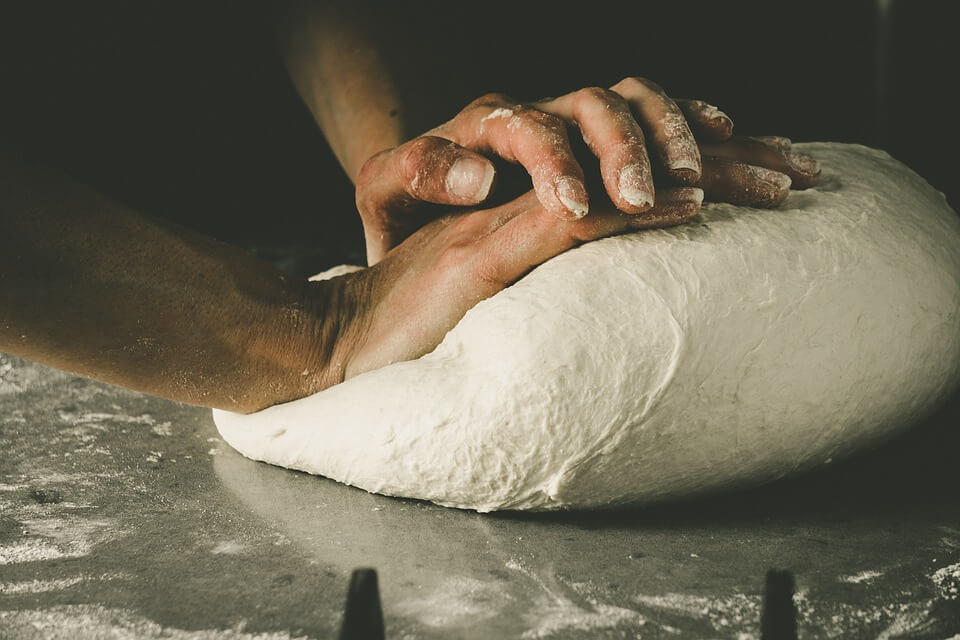
With this method, place both hands flat on your dough. As you rotate the dough like a record, pull your hands in opposite directions. You can spin in any direction, as long as your hands are working against each other as you spin. This method is a great way to get a smooth, even base for pizza toppings.
3. Steering Wheel Stretch
Gravity is your friend when using the “steering-wheel stretch.” Grab the edge of your flattened disk and let the rest of the dough hang straight down. Pinch the edge of your dough as you rotate it in your hands. As you rotate, the dough should stretch into a large, thin circle. This method is useful if you prefer a large, thin pizza crust. If you prefer a thicker crust, grab your dough disk closer to the middle when rotating.
4. Knuckle Stretch
As the name implies, the “knuckle stretch” uses your knuckles to stretch out the dough. Place your hands together as if you were giving yourself a fist bump. Place the flattened dough over your two hands, and start moving your fists away from each other. Move slowly and gently to avoid tearing the dough. Move the pizza dough in a circle as you stretch the dough over your knuckles. The advantage of this stretching method is that it allows you to see how the dough stretches and quickly spot areas that are too thin or thick.
Tips for Making Great Pizza Crust at Home
Now that you know the basics of pizza-dough stretching, here are some helpful tips for making delicious pizza crust at home:
- Remove your jewelry: Remove all jewelry from your hands, including rings, bracelets, and watches. Removal will keep your precious items clean and prevent dough from getting caught on your jewelry as you stretch your dough.
- Don’t use highly scented soaps or moisturizer on your hands: Any strongly-scented wash or moisturizer on your hands will be transferred to the dough as you work with it. Before stretching, wash your hands with a mild, unscented soap.
- Don’t under- or over-proof your dough: If you are making homemade-pizza dough, be sure to follow recipe instructions for proofing. Under-proofed pizza dough is hard to stretch and dense. An over-proofed dough will stretch too thin and won’t spring up when you put it in the oven.
- Warm-up your dough: Cold dough is hard to stretch and more prone to tearing. Let your dough warm up to at least room temperature before stretching for best results.
- Don’t toss your dough in the air: Yes, it looks cool and the awesome pizzeria down the street does it. No, you should not. Tossing your dough in the air isn’t the most effective method for stretching, and most novice-pizza makers end up with dough on the floor. Keep your pizza dough on the counter where it belongs.
- Let it rest: A little shrinking is normal as you stretch your dough. If your pizza dough is quickly snapping back or difficult to stretch, your dough is too tight. Cover your dough with plastic wrap and let it sit for 10-15 minutes. After a bit of rest, the gluten in the dough will relax, making the process of stretching much easier.
- Preventing holes in your dough: Kneading your dough per recipe instructions, keeping it warm, and allowing it to rest when needed will prevent your dough from tearing and developing holes. You can also try using high-protein flour in your pizza dough recipe for better gluten development.
- Fixing holes in your dough: If your dough rips, you can fix it by either pinching the dough together or pressing a dough patch over the hole.
- Rolling pins not allowed: Stretching your pizza dough preserves the gas bubbles created by yeast, resulting in an open-structured crust. Rolling pins push out the gas, reducing oven spring and creating a dense, tough crust. Rolling pins are forbidden when making official Neapolitan pizza.
- Practice: Just like any other skill, your pizza stretching will improve the more you practice it.
Creating the perfect pizza starts with a great crust. It may not be exactly like the famous caramelized crust from Pequod’s Pizza, but few are. Follow our stretching methods and tips to create a great pizza at home anytime.
Image via Pixabay by Daniel Naor.